Flying rocket production tutorial
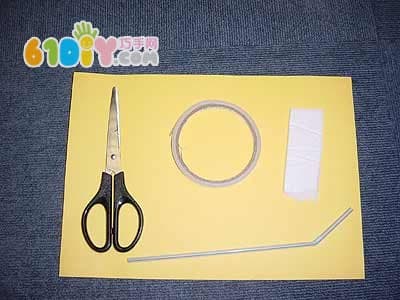
Experimental production materials: 1 yellow cardboard; 2 white foam board; 3 straws ; 4 double-sided adhesive; 5 scissors.
Experimental production steps: 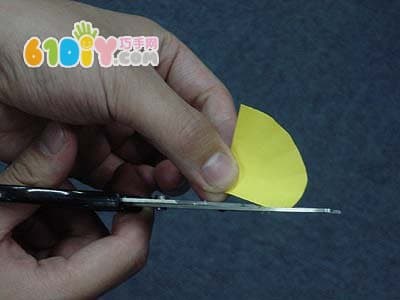
1. Cut a small fan-shaped piece of paper from the yellow cardboard. 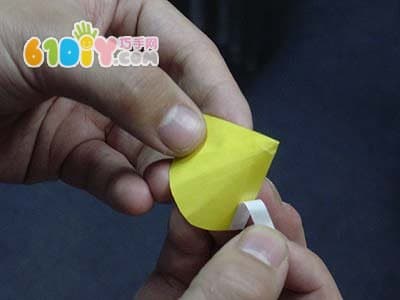
2. Stick a double-sided tape on one side of the fan-shaped paper. 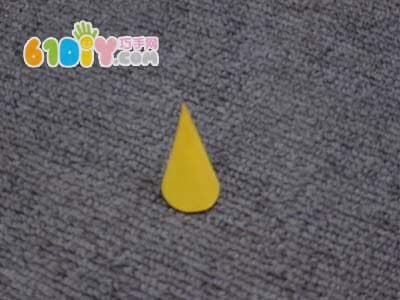
3. Roll the fan-shaped paper into a cone and stick it with double-sided tape. 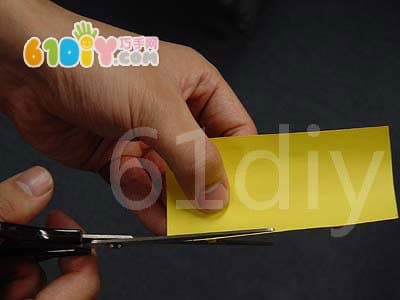
4. Cut a long piece of paper from the yellow cardboard. 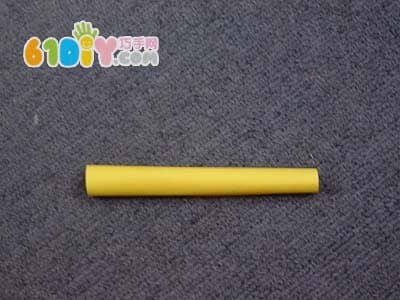
5. Roll the long piece of paper into a cylinder and place it into the cone made in front. 
6. Connect the cone and the cylinder with double-sided tape.
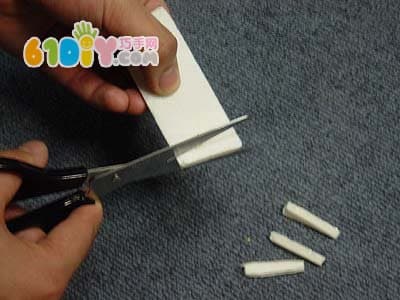
7. Cut 4 long strips from the white foam board 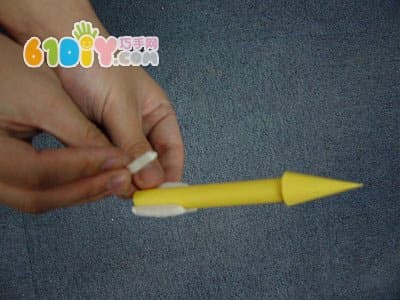
8. Fix the foam strip to the tail of the cylinder with double-sided tape, and distribute the four foams evenly. 
9. Cut 4 trapezoidal small pieces of paper from the yellow cardboard.
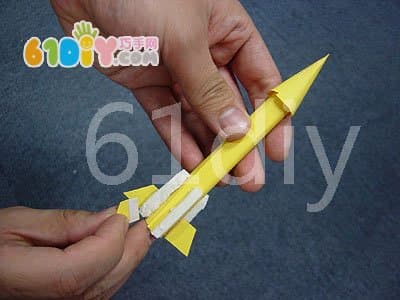
10. Fix the trapezoidal small paper sheet to the tail of the cylinder with double-sided tape, and distribute 4 small pieces of paper to the four foam strips. 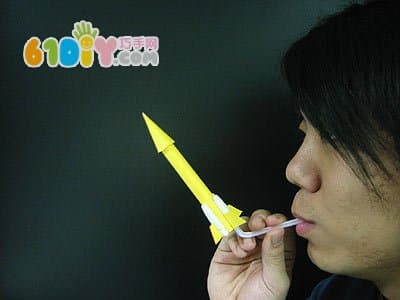
11. Insert a straw from the end of the cylinder into the cylinder and blow it with your mouth. The small arrow will vacate.
Experimental principle : The rocket advances by the recoil generated by the high-temperature and high-pressure gas generated by the combustion of the internal fuel from the tail. When our small flying arrow is blown into the straw, the airflow exerts a forward impulse on the small flying arrow, which makes the small flying arrow rise.
Note : Scissors should be used when making a small flying arrow. Please be sure to pay attention to safety.
Benefits of Curved Stretch Tension Fabric Displays
1. 25 – 30 mm dia aluminum frame to make it very strong
2. Interchangeable fabric graphics, removable to wash or replace
3. Stretch fabric tension creates a smooth, professional backdrop
4. Small and lightweight, simple to pack away & store
5. Replacement graphics available for cost effective re-branding
6. Fast Lead-times
7. No tools required
8. Latest dye-sublimation printing process for high quality results
9. Choose from single sided or double sided graphics
10. Tension fabric graphic slides over the frame and zips into place

Size list for the curved tension fabric displays :
|
Product |
Graphic size (mm) |
Frame Size(mm) |
Packing Size |
|
Arc Fabric Display Stand (7*3) |
5260*2300mm |
5100*2210mm |
78*32*32cm/set/ctn, 12.5kg/ ctn |
|
Arc Fabric Display Stand (4*3) |
3140*2300mm |
3000*2210mm |
78*32*22cm/set/ctn, 10kg/ ctn |
|
Arc Fabric Display Stand (3*3) |
2350*2300mm |
2280*2210mm |
78*32*22cm/set/ctn, 10kg/ ctn |
|
Arc Fabric Display Stand (3*2) |
2350*1540mm |
2280*1527mm |
78*32*22cm/set/ctn, 7kg/ ctn |
|
Arc Fabric Display Stand (2*2) |
1980*1540mm |
1852*1527mm |
78*32*22cm/set/ctn, 6kg/ ctn |
This item includes :
1pcs curved shape aluminum stand
1 pcs Heat Transfer Printing Tension Fabric Banner with Zipper
1pcs Oxford Fabric Carry Bag
2pcs Halogen Light Optional
2 pcs Led Light Optional
Curved Tension Fabric Display
Curved Tension Fabric Displays,Portable Curved Tension Fabric Displays,Small Curved Tension Fabric Displays
Golden Mouth Advertising (H.K)Co.,Ltd. ( Jie Da Advertisement Co.,Ltd) , https://www.advertisingflagbanners.com